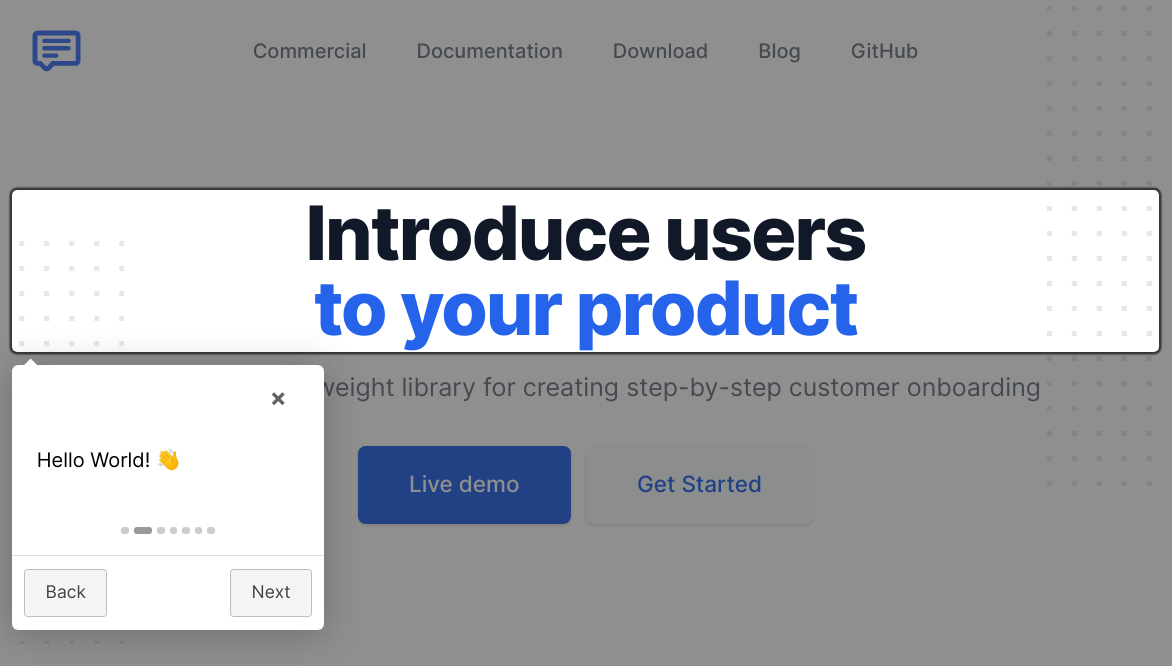
intro.js vs shepherd.js vs driver.js
JavaScript Tour Libraries Comparison
1 Year
intro.jsshepherd.jsdriver.js
What's JavaScript Tour Libraries?

JavaScript tour libraries are designed to create guided tours for web applications, helping users understand features and functionalities through interactive walkthroughs. These libraries enhance user experience by providing contextual information and visual cues, making it easier for users to navigate complex interfaces. They can significantly reduce the learning curve for new users and improve overall engagement by highlighting important elements and actions within the application.

Package Weekly Downloads Trend
Github Stars Ranking
Stat Detail
Package
Downloads
Stars
Size
Issues
Publish
License
intro.js141,57823,102647 kB722 years agoAGPL-3.0
shepherd.js123,56913,1942.3 MB583 months agoAGPL-3.0
driver.js118,57824,18882.5 kB9418 days agoMIT
Feature Comparison: intro.js vs shepherd.js vs driver.js

Customization

  • intro.js:

    Intro.js offers a range of customization options, including the ability to modify tooltip styles, positions, and animations. You can easily tailor the appearance and behavior of the tour to fit your application's design.

  • shepherd.js:

    Shepherd.js excels in customization, offering extensive options for styling, positioning, and behavior of each step in the tour. You can define custom buttons, modify the appearance using CSS, and even create complex multi-step tours with various configurations.

  • driver.js:

    Driver.js provides basic customization options, allowing you to change the appearance of highlighted elements and the overlay. However, it is more limited in terms of styling and positioning compared to others.

Ease of Use

  • intro.js:

    Intro.js is user-friendly, with a clear API that allows developers to create tours quickly. It provides built-in options for common use cases, making it accessible for those who may not have extensive experience with tour libraries.

  • shepherd.js:

    Shepherd.js has a steeper learning curve due to its extensive features and customization options. While it offers powerful capabilities, it may require more time to understand and implement effectively.

  • driver.js:

    Driver.js is straightforward to implement, with a minimal setup required to get started. Its API is simple, making it easy for developers to quickly add guided tours without much overhead.

Integration

  • intro.js:

    Intro.js is designed to work seamlessly with popular frameworks like React, Angular, and Vue, making it a good choice for developers using modern JavaScript frameworks. It provides built-in support for these environments, simplifying integration.

  • shepherd.js:

    Shepherd.js is also compatible with various frameworks and can be integrated into single-page applications with relative ease. Its flexibility allows it to adapt to different project structures, although some additional configuration may be needed.

  • driver.js:

    Driver.js can be easily integrated into any web application without dependencies, making it a versatile choice for various projects. Its lightweight nature ensures minimal impact on performance.

Documentation and Community Support

  • intro.js:

    Intro.js boasts comprehensive documentation and a larger community, providing ample resources, examples, and support. This makes it easier for developers to find help and share experiences.

  • shepherd.js:

    Shepherd.js has good documentation and an active community, offering various examples and plugins. Its popularity among developers ensures that you can find support and resources easily.

  • driver.js:

    Driver.js has decent documentation, but its community is smaller compared to the others. This may result in fewer resources and examples available for troubleshooting and learning.

Performance

  • intro.js:

    Intro.js is optimized for performance, but its more complex features may introduce slight overhead compared to Driver.js. However, it strikes a good balance between functionality and performance.

  • shepherd.js:

    Shepherd.js can be more resource-intensive due to its extensive features and customization options. While it provides powerful capabilities, developers should be mindful of potential performance impacts in larger applications.

  • driver.js:

    Driver.js is lightweight and performs well, making it suitable for applications where performance is a priority. Its minimalistic approach ensures that it does not add significant overhead to the application.

How to Choose: intro.js vs shepherd.js vs driver.js
  • intro.js:

    Select Intro.js for a more comprehensive solution that offers a simple API for creating step-by-step guides, complete with customizable tooltips and the ability to easily integrate with existing frameworks. It's ideal for projects that require a quick setup and a visually appealing presentation.

  • shepherd.js:

    Opt for Shepherd.js if you require a highly customizable and flexible library that allows for extensive configuration of tour steps, including the ability to use different positioning strategies and styles. It's suitable for applications that need detailed control over the user experience.

  • driver.js:

    Choose Driver.js if you need a lightweight solution that focuses on highlighting specific elements on the page and providing a straightforward way to guide users through a series of steps without extensive configuration.

README for intro.js

Intro.js

Build Status npm

User Onboarding and Product Walkthrough Library

Where to get

You can obtain your local copy of Intro.js from:

1) This GitHub repository, using git clone https://github.com/usablica/intro.js.git

2) Using yarn yarn add intro.js

3) Using npm npm install intro.js --save

4) Download it from CDN (1, 2)

How to use

Intro.js can be added to your site in three simple steps:

1) Include intro.js and introjs.css (or the minified version for production) in your page. Use introjs-rtl.min.css for Right-to-Left language support.

CDN hosted files are available at jsDelivr (click Show More) & cdnjs.

2) Add data-intro and data-step to your HTML elements. To add hints you should use data-hint attribute.

For example:

<a href='http://google.com/' data-intro='Hello step one!'></a>

See all attributes here.

3) Call this JavaScript function:

introJs().start();

Optionally, pass one parameter to introJs function to limit the presentation section.

For example introJs(".introduction-farm").start(); runs the introduction only for elements with class='introduction-farm'.

Documentation

Please visit Documentation.

Using with:

Intro.js has many wrappers for different purposes. Please visit Documentation for more info.

Build

First you should install nodejs and npm, then first run this command: npm install to install all dependencies.

Now you can run this command to minify all static resources:

npm run build

Contributors ✨


Afshin Mehrabani

💻 📖

bozdoz

💻 📖

Support/Discussion

License

Commercial license

If you want to use Intro.js for a commercial application, theme or plugin the commercial license is the appropriate license. With this option, your source code is kept proprietary. Purchase a commercial license at introjs.com

Open-source license

GNU AGPLv3