react-image-crop vs react-avatar-editor vs react-avatar
Image Upload and Manipulation in React Comparison
3 Years
react-image-cropreact-avatar-editorreact-avatarSimilar Packages:
What's Image Upload and Manipulation in React?

Image upload and manipulation libraries in React provide tools for handling user-uploaded images, including features like cropping, resizing, and editing. These libraries enhance the user experience by allowing real-time image adjustments before submission, ensuring that images are optimized for web use. They often come with customizable components, support for various file types, and integration with form handling. Popular libraries include react-avatar for displaying and editing user avatars, react-avatar-editor for more detailed avatar editing with cropping and scaling, and react-image-crop for intuitive image cropping with adjustable aspect ratios.

Package Weekly Downloads Trend
Github Stars Ranking
Stat Detail
Package
Downloads
Stars
Size
Issues
Publish
License
react-image-crop651,827
4,020112 kB694 months agoISC
react-avatar-editor205,358
2,45457.4 kB282 years agoMIT
react-avatar59,672
652122 kB21a month agoMIT
Feature Comparison: react-image-crop vs react-avatar-editor vs react-avatar

Avatar Generation

  • react-image-crop:

    react-image-crop does not generate avatars or images; it focuses solely on cropping. Users can upload any image, and the library provides a cropping interface, but it does not handle avatar generation or editing.

  • react-avatar-editor:

    react-avatar-editor does not generate avatars but allows users to upload their images and edit them before saving. It provides a canvas for users to adjust their photos, ensuring a more personalized avatar.

  • react-avatar:

    react-avatar can generate avatars from user initials, making it easy to display a placeholder image when a user does not have a profile picture. This feature is particularly useful for applications with minimal user data.

Image Editing Capabilities

  • react-image-crop:

    react-image-crop specializes in cropping images but does not offer additional editing features like scaling or rotating. It provides a simple and intuitive interface for selecting the crop area.

  • react-avatar-editor:

    react-avatar-editor provides robust image editing features, including cropping, scaling, and rotating. Users can manipulate their images directly within the component, making it ideal for detailed avatar customization.

  • react-avatar:

    react-avatar offers minimal editing capabilities, primarily focused on displaying and generating avatars. It does not provide tools for cropping or modifying uploaded images.

Customization

  • react-image-crop:

    react-image-crop offers good customization options for the cropping interface, including aspect ratio, crop shape, and styling. Developers can easily modify the component to fit their design requirements.

  • react-avatar-editor:

    react-avatar-editor is highly customizable, allowing developers to adjust the editor's size, aspect ratio, and other parameters. It also supports custom styling, making it versatile for different applications.

  • react-avatar:

    react-avatar allows for basic customization of avatar size, shape, and colors. However, it is limited in terms of styling and does not support extensive customization.

Ease of Integration

  • react-image-crop:

    react-image-crop is also easy to integrate, especially for projects that need a simple cropping solution. Its API is intuitive, and it works well with controlled components.

  • react-avatar-editor:

    react-avatar-editor requires a bit more setup due to its advanced features, but it is still straightforward to integrate. The documentation provides clear guidance on how to implement the editor.

  • react-avatar:

    react-avatar is easy to integrate into any React application with minimal setup. Its simple API and lightweight nature make it a quick solution for adding avatar functionality.

Code Example

  • react-image-crop:

    Image Cropping Example

    import React, { useState } from 'react';
    import { Crop } from 'react-image-crop';
    import 'react-image-crop/dist/ReactCrop.css';
    
    const ImageCropper = () => {
      const [crop, setCrop] = useState({ aspect: 16 / 9 });
      const [image, setImage] = useState(null);
    
      const handleImageChange = (e) => {
        const file = e.target.files[0];
        const reader = new FileReader();
        reader.onload = () => setImage(reader.result);
        reader.readAsDataURL(file);
      };
    
      return (
        <div>
          <input type="file" onChange={handleImageChange} />
          {image && (
            <Crop
              src={image}
              crop={crop}
              onCropChange={setCrop}
              onImageLoaded={setImage}
            />
          )}
        </div>
      );
    };
    
    export default ImageCropper;
    
  • react-avatar-editor:

    Avatar Editing Example

    import React, { useRef } from 'react';
    import AvatarEditor from 'react-avatar-editor';
    
    const AvatarEdit = () => {
      const editorRef = useRef(null);
    
      const handleSave = () => {
        const canvas = editorRef.current.getImage();
        // Do something with the edited image (e.g., upload it)
      };
    
      return (
        <div>
          <AvatarEditor
            ref={editorRef}
            image="path/to/image.jpg"
            width={250}
            height={250}
            border={50}
            scale={1.2}
            rotate={0}
          />
          <button onClick={handleSave}>Save Avatar</button>
        </div>
      );
    };
    
    export default AvatarEdit;
    
  • react-avatar:

    Simple Avatar with Initials

    import React from 'react';
    import { Avatar } from 'react-avatar';
    
    const UserProfile = () => {
      return (
        <div>
          <h2>User Profile</h2>
          <Avatar name="John Doe" size="100" round="20px" />
        </div>
      );
    };
    
    export default UserProfile;
    
How to Choose: react-image-crop vs react-avatar-editor vs react-avatar
  • react-image-crop:

    Opt for react-image-crop if your primary focus is on cropping images with adjustable aspect ratios. It is perfect for applications that need a flexible and user-friendly cropping interface without the need for extensive editing features.

  • react-avatar-editor:

    Select react-avatar-editor if you need a more comprehensive avatar editing tool that allows users to crop, scale, and rotate images. It is suitable for applications that require precise control over avatar appearance before uploading.

  • react-avatar:

    Choose react-avatar if you need a simple and lightweight solution for displaying and editing user avatars. It is ideal for applications that require quick avatar generation with minimal setup.

README for react-image-crop

React Image Crop

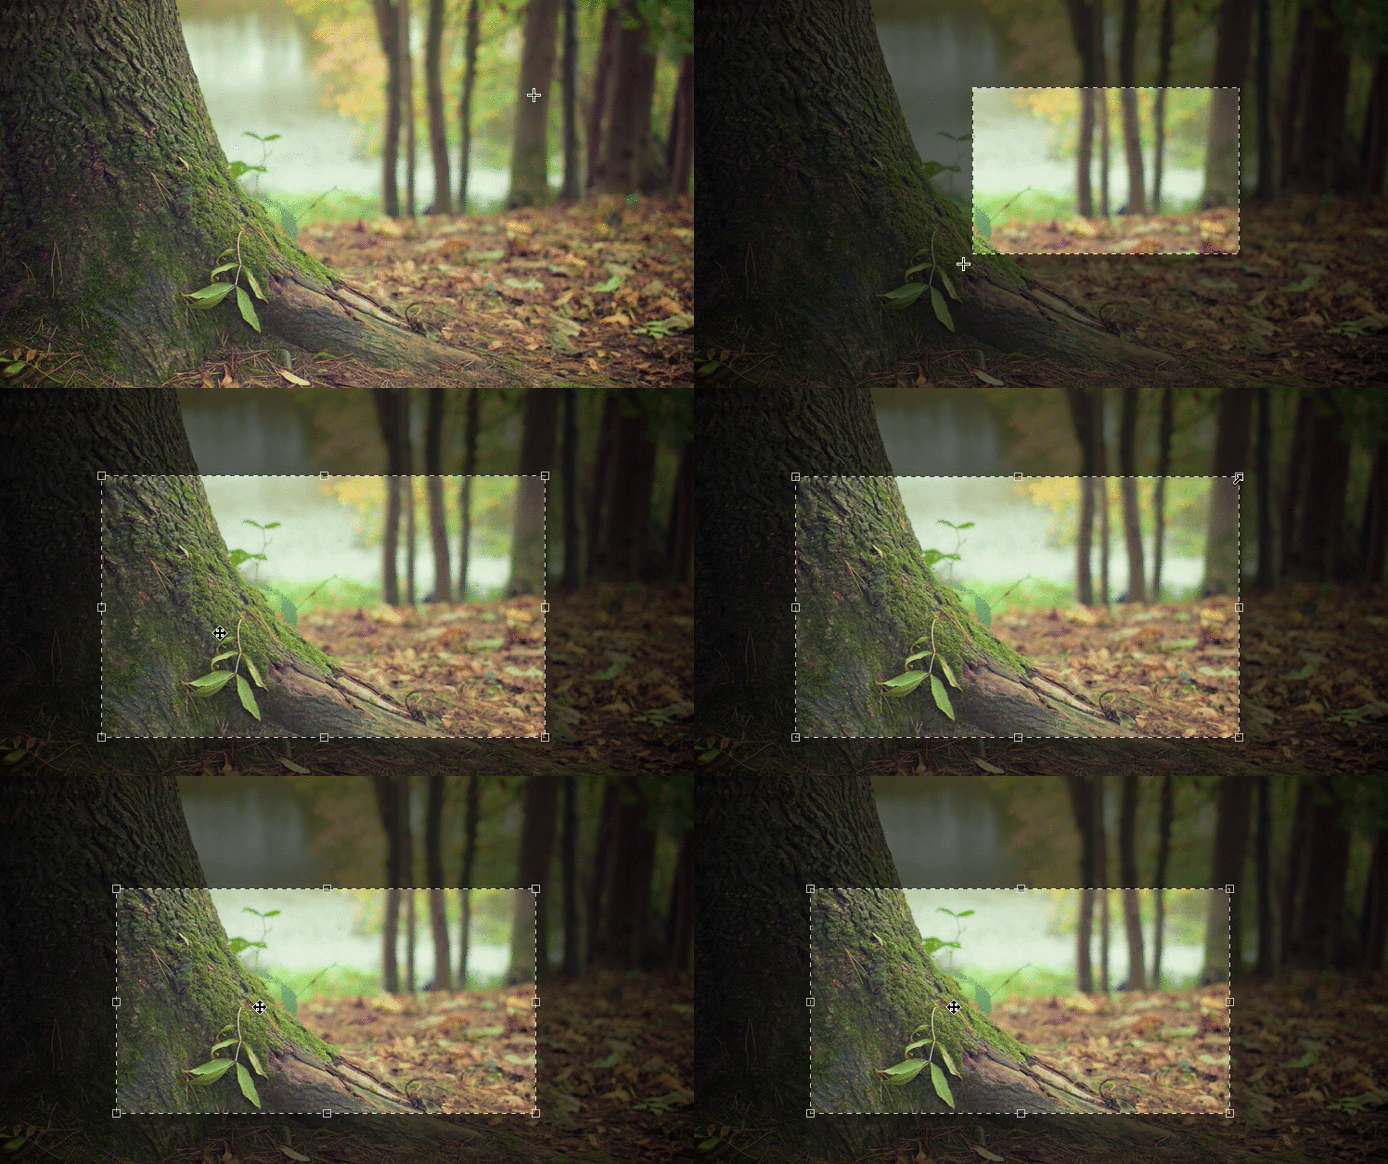
An image cropping tool for React with no dependencies.

React Image Crop on NPM

CodeSandbox Demo

ReactCrop GIF

Table of Contents

  1. Features
  2. Installation
  3. Usage
  4. Example
  5. CDN
  6. Props
  7. FAQ
    1. How can I generate a crop preview in the browser?
    2. How to correct image EXIF orientation/rotation?
    3. How to filter, rotate and annotate?
    4. How can I center the crop?
  8. Contributing / Developing

Features

  • Responsive (you can use pixels or percentages).
  • Touch enabled.
  • Free-form or fixed aspect crops.
  • Fully keyboard accessible (a11y).
  • No dependencies/small footprint (<5KB gzip).
  • Min/max crop size.
  • Crop anything, not just images.

If React Crop doesn't cover your requirements then take a look at Pintura (our sponsor). It features cropping, rotating, filtering, annotation, and lots more.

Learn more about Pintura here

Installation

npm i react-image-crop --save
yarn add react-image-crop
pnpm add react-image-crop

This library works with all modern browsers. It does not work with IE.

Usage

Include the main js module:

import ReactCrop from 'react-image-crop'

Include either dist/ReactCrop.css or ReactCrop.scss.

import 'react-image-crop/dist/ReactCrop.css'
// or scss:
import 'react-image-crop/src/ReactCrop.scss'

Example

import ReactCrop, { type Crop } from 'react-image-crop'

function CropDemo({ src }) {
  const [crop, setCrop] = useState<Crop>()
  return (
    <ReactCrop crop={crop} onChange={c => setCrop(c)}>
      <img src={src} />
    </ReactCrop>
  )
}

See the sandbox demo for a more complete example.

CDN

<link href="https://unpkg.com/react-image-crop/dist/ReactCrop.css" rel="stylesheet" />
<script src="https://unpkg.com/react-image-crop/dist/index.umd.cjs"></script>

Note when importing the script globally using a <script> tag access the component with ReactCrop.Component.

Props

onChange: (crop: PixelCrop, percentCrop: PercentCrop) => void

A callback which happens for every change of the crop (i.e. many times as you are dragging/resizing). Passes the current crop state object.

Note you must implement this callback and update your crop state, otherwise nothing will change!

<ReactCrop crop={crop} onChange={(crop, percentCrop) => setCrop(crop)} />

crop and percentCrop are interchangeable. crop uses pixels and percentCrop uses percentages to position and size itself. Percent crops are resistant to image/media resizing.

crop?: Crop

Starting with no crop:

const [crop, setCrop] = useState<Crop>()

<ReactCrop crop={crop} onChange={c => setCrop(c)}>
  <img src={src} />
</ReactCrop>

Starting with a preselected crop:

const [crop, setCrop] = useState<Crop>({
  unit: '%', // Can be 'px' or '%'
  x: 25,
  y: 25,
  width: 50,
  height: 50
})

<ReactCrop crop={crop} onChange={c => setCrop(c)}>
  <img src={src} />
</ReactCrop>

⚠️ You must ensure the crop is in bounds and correct to the aspect ratio if manually setting. Aspect ratios can be tricky when using %. You can make use of centerCrop and makeAspectCrop helpers. See How can I center the crop? or the CodeSanbox Demo for examples.

aspect?: number

The aspect ratio of the crop, e.g. 1 for a square or 16 / 9 for landscape. Omit/pass undefined for a free-form crop.

minWidth?: number

A minimum crop width, in pixels.

minHeight?: number

A minimum crop height, in pixels.

maxWidth?: number

A maximum crop width, in pixels.

maxHeight?: number

A maximum crop height, in pixels.

keepSelection?: boolean

If true is passed then selection can't be disabled if the user clicks outside the selection area.

disabled?: boolean

If true then the user cannot resize or draw a new crop. A class of ReactCrop--disabled is also added to the container for user styling.

locked?: boolean

If true then the user cannot create or resize a crop, but can still drag the existing crop around. A class of ReactCrop--locked is also added to the container for user styling.

className?: string

A string of classes to add to the main ReactCrop element.

style?: React.CSSProperties

Inline styles object to be passed to the image wrapper element.

onComplete?: (crop: PixelCrop, percentCrop: PercentCrop) => void

A callback which happens after a resize, drag, or nudge. Passes the current crop state object.

percentCrop is the crop as a percentage. A typical use case for it would be to save it so that the user's crop can be restored regardless of the size of the image (for example saving it on desktop, and then using it on a mobile where the image is smaller).

onDragStart?: (e: PointerEvent) => void

A callback which happens when a user starts dragging or resizing. It is convenient to manipulate elements outside this component.

onDragEnd?: (e: PointerEvent) => void

A callback which happens when a user releases the cursor or touch after dragging or resizing.

renderSelectionAddon?: (state: ReactCropState) => React.ReactNode

Render a custom element inside the crop selection.

ruleOfThirds?: boolean

Show rule of thirds lines in the cropped area. Defaults to false.

circularCrop?: boolean

Show the crop area as a circle. If your aspect is not 1 (a square) then the circle will be warped into an oval shape. Defaults to false.

FAQ

How can I generate a crop preview in the browser?

This isn't part of the library but there is an example over here CodeSandbox Demo.

How to correct image EXIF orientation/rotation?

You might find that some images are rotated incorrectly. Unfortunately this is a browser wide issue not related to this library. You need to fix your image before passing it in.

You can use the following library to load images, which will correct the rotation for you: https://github.com/blueimp/JavaScript-Load-Image/

You can read an issue on this subject here: https://github.com/dominictobias/react-image-crop/issues/181

If you're looking for a complete out of the box image editor which already handles EXIF rotation then consider using Pintura.

How to filter, rotate and annotate?

This library is deliberately lightweight and minimal for you to build features on top of. If you wish to perform more advanced image editing out of the box then consider using Pintura.

Pintura Demo

How can I center the crop?

The easiest way is to use the percentage unit:

crop: {
  unit: '%',
  width: 50,
  height: 50,
  x: 25,
  y: 25
}

Centering an aspect ratio crop is trickier especially when dealing with %. However two helper functions are provided:

  1. Listen to the load event of your media to get its size:
<ReactCrop crop={crop} aspect={16 / 9}>
  <img src={src} onLoad={onImageLoad} />
</ReactCrop>
  1. Use makeAspectCrop to create your desired aspect and then centerCrop to center it:
function onImageLoad(e) {
  const { naturalWidth: width, naturalHeight: height } = e.currentTarget

  const crop = centerCrop(
    makeAspectCrop(
      {
        // You don't need to pass a complete crop into
        // makeAspectCrop or centerCrop.
        unit: '%',
        width: 90,
      },
      16 / 9,
      width,
      height
    ),
    width,
    height
  )

  setCrop(crop)
}

Also remember to set your crop using the percentCrop on changes:

const onCropChange = (crop, percentCrop) => setCrop(percentCrop)

And your aspect prop should be set to the same value: <ReactCrop aspect={16 / 9} ... />.

Contributing / Developing

To develop run pnpm install && pnpm dev and open the localhost server in your browser. Update code and it will reload. When you're ready, open a pull request.