Architectural Selection of Picker Components in React Native
This analysis compares five prominent React Native packages designed to handle selection interfaces. The ecosystem has evolved from the deprecated @react-native-community/picker to the maintained @react-native-picker/picker, which wraps native OS controls. In contrast, react-native-dropdown-picker, react-native-picker-select, and react-native-select-dropdown are JavaScript-based solutions that render custom UI components. The choice between these libraries fundamentally depends on whether a project requires strict adherence to native platform guidelines or demands a unified, highly customizable cross-platform design system.
Npm Package Weekly Downloads Trend
Github Stars Ranking
Stat Detail


React Native Picker Libraries: Native Wrappers vs. Custom JavaScript Implementations
Choosing the right selection component in React Native often comes down to a fundamental architectural decision: do you trust the operating system to render the UI, or do you need complete control over the look and feel? The five packages in this comparison represent two distinct approaches. @react-native-picker/picker (and its deprecated predecessor) acts as a bridge to native OS controls. The other three—react-native-dropdown-picker, react-native-picker-select, and react-native-select-dropdown—are pure JavaScript components that draw their own UI.
Let's break down how these libraries handle rendering, customization, state management, and platform behavior to help you make the right call for your architecture.
🏗️ Rendering Engine: Native Views vs. JavaScript Composition
The most critical difference lies in what actually appears on the screen. Native wrappers render platform-specific views, while JS-based libraries compose standard View and Text components.
@react-native-picker/picker renders the actual native control. On iOS, it is a UIPickerView; on Android, it is a Spinner or a modal dialog depending on the mode. You cannot change the internal layout of these native views.
// @react-native-picker/picker
import { Picker } from '@react-native-picker/picker';

<Picker
  selectedValue={language}
  onValueChange={(itemValue) => setLanguage(itemValue)}
>
  <Picker.Item label="Java" value="java" />
  <Picker.Item label="JavaScript" value="js" />
</Picker>
react-native-dropdown-picker builds the entire dropdown using React Native views. This means the dropdown list, the search bar, and the selected item are all standard JS components that you can style freely.
// react-native-dropdown-picker
import DropDownPicker from 'react-native-dropdown-picker';

<DropDownPicker
  open={open}
  value={value}
  items={items}
  setOpen={setOpen}
  setValue={setValue}
  setItems={setItems}
  style={{ borderColor: '#ddd' }}
  dropDownContainerStyle={{ backgroundColor: '#fff' }}
/>
react-native-picker-select uses a hybrid approach. On iOS, it often triggers the native picker via onPress. On Android and Web, it renders a custom modal or dropdown view that you can style.
// react-native-picker-select
import RNPickerSelect from 'react-native-picker-select';

<RNPickerSelect
  onValueChange={(value) => setSelected(value)}
  items={[
    { label: 'Football', value: 'football' },
    { label: 'Baseball', value: 'baseball' },
  ]}
  style={{
    inputIOS: { fontSize: 16, paddingVertical: 12 },
    inputAndroid: { fontSize: 16, paddingHorizontal: 10 },
  }}
/>
react-native-select-dropdown is purely JavaScript. It renders a button that toggles a flat list of items. It does not attempt to mimic native controls, offering a consistent look everywhere.
// react-native-select-dropdown
import SelectDropdown from 'react-native-select-dropdown';

<SelectDropdown
  data={['USA', 'Canada', 'Mexico']}
  onSelect={(selectedItem) => console.log(selectedItem)}
  buttonTextAfterSelection={(item) => item}
  rowTextForSelection={(item) => item}
  buttonStyle={{ backgroundColor: '#f1f1f1' }}
/>
@react-native-community/picker functions exactly like the current @react-native-picker/picker but is obsolete. The API is identical, but the underlying native modules are no longer maintained.
// @react-native-community/picker (DEPRECATED)
import { Picker } from '@react-native-community/picker';

// Same structure as the new package, but DO NOT USE
<Picker selectedValue={val} onValueChange={setVal}>
  <Picker.Item label="Option" value="opt" />
</Picker>
🎨 Styling and Customization Capabilities
If your design system requires specific fonts, colors, or layout structures that differ from the OS defaults, native wrappers will frustrate you.
@react-native-picker/picker offers very limited styling. You can change the color of the text on Android and the overall width, but you cannot change the row height, font family, or add icons inside the native picker wheel.
// Limited to basic props
<Picker style={{ height: 50, width: 200 }} itemStyle={{ color: 'red' }}>
  {/* No way to add icons to items natively */}
  <Picker.Item label="Red Item" value="1" color="red" />
</Picker>
react-native-dropdown-picker provides extensive styling props for every part of the component: the container, the label, the arrow icon, the search input, and the list items. You can even render custom components inside the items.
// Full control over styles
<DropDownPicker
  items={items}
  renderSelectedItem={(item) => (
    <View style={{ flexDirection: 'row' }}>
      <Icon name={item.icon} />
      <Text>{item.label}</Text>
    </View>
  )}
  theme="DARK"
  containerStyle={{ height: 60 }}
/>
react-native-picker-select allows deep customization through a style object that targets specific platforms (inputIOS, inputAndroid, viewContainer). You can also customize the placeholder and the icon.
// Platform-specific styling
<RNPickerSelect
  items={items}
  style={{
    inputIOS: { padding: 20, color: 'black' },
    inputAndroid: { padding: 10, backgroundColor: 'white' },
    iconContainer: { top: 10, right: 10 },
  }}
  useNativeAndroidPickerStyle={false} // Disable default Android style
/>
react-native-select-dropdown focuses on simplicity. You style the main button and the dropdown row. It doesn't have as many granular props as dropdown-picker, but it is sufficient for most standard designs.
// Simple button and row styling
<SelectDropdown
  data={data}
  buttonStyle={{ width: 200, borderRadius: 8 }}
  rowStyle={{ backgroundColor: '#f9f9f9', padding: 10 }}
  renderButton={(selected, isOpened) => (
    <View>{selected ? selected : 'Choose'}</View>
  )}
/>
⚙️ State Management and Complexity
Complex components often require complex state management. Some libraries handle this internally, while others force you to manage it in your parent component.
@react-native-picker/picker is a controlled component but is stateless internally. It simply reports changes. It is the simplest to integrate for basic use cases.
// Simple controlled pattern
const [val, setVal] = useState('');
<Picker selectedValue={val} onValueChange={setVal} />
react-native-dropdown-picker is notoriously strict about state management. It requires multiple state variables (open, value, items) and setters to be passed as props. Failing to do so correctly often leads to warnings or rendering loops.
// Requires multiple state hooks
const [open, setOpen] = useState(false);
const [value, setValue] = useState(null);
const [items, setItems] = useState([{ label: 'A', value: 'a' }]);

<DropDownPicker
  open={open}
  value={value}
  items={items}
  setOpen={setOpen}
  setValue={setValue}
  setItems={setItems}
/>
react-native-picker-select follows a standard controlled pattern similar to native inputs. It is less verbose than dropdown-picker.
// Standard controlled pattern
const [selected, setSelected] = useState(null);
<RNPickerSelect value={selected} onValueChange={setSelected} items={items} />
react-native-select-dropdown is also a controlled component but keeps the API surface area small. It relies on standard onSelect callbacks.
// Simple callback pattern
<SelectDropdown
  data={data}
  onSelect={(item) => setSelected(item)}
  defaultValue={selected}
/>
📱 Platform Behavior and UX Consistency
How the picker feels to the user varies significantly between native and JS implementations.
@react-native-picker/picker provides the most familiar experience for users. On iOS, the wheel spins smoothly with momentum. On Android, it opens the system dialog. However, this means the UX differs completely between platforms.
// UX is dictated by the OS
// iOS: Wheel spinner
// Android: Modal dialog or inline spinner
<Picker mode="dialog" /> // Android specific prop
react-native-dropdown-picker forces a consistent UX. The dropdown slides down or appears as a modal on both platforms. This is great for branding but can feel "uncanny" to iOS users expecting a wheel.
// Consistent modal/dropdown on both platforms
<DropDownPicker
  modalProps={{ animationType: 'slide' }}
  zIndex={1000} // Must manage z-index manually for modals
/>
react-native-picker-select tries to have it both ways. By default, it uses the native picker on iOS. You can disable this to force a custom UI everywhere.
// Hybrid behavior
<RNPickerSelect
  useNativeAndroidPickerStyle={true} // Uses Android native dialog
  // On iOS, usually triggers native picker unless customized heavily
/>
react-native-select-dropdown offers a uniform flat list experience. It does not try to emulate native behaviors, which ensures your app looks the same on an iPhone, an Android, and a Web browser.
// Uniform flat list
<SelectDropdown
  dropdownStyle={{ backgroundColor: 'white' }}
  // Behaves identically on all platforms
/>
🚫 Deprecation Warning: @react-native-community/picker
It is vital to address the status of @react-native-community/picker. This package was the original home for the picker component after it was removed from the React Native core. However, the community team deprecated it in favor of a dedicated repository.
// DO NOT INSTALL THIS
// npm install @react-native-community/picker

// INSTALL THIS INSTEAD
// npm install @react-native-picker/picker
Using the deprecated package means you will not receive security patches or support for new OS versions. It should be treated as legacy code only.
📊 Summary Comparison Table
| Feature | @react-native-picker/picker | react-native-dropdown-picker | react-native-picker-select | react-native-select-dropdown |
|---|---|---|---|---|
| Rendering | Native OS Controls | Pure JavaScript Views | Hybrid (Native iOS / JS Android) | Pure JavaScript Views |
| Customization | Low (OS limited) | Very High | High | Medium |
| State Complexity | Low | High (Multiple setters) | Low | Low |
| Cross-Platform UX | Different per OS | Identical | Configurable | Identical |
| Search Support | No | Yes (Built-in) | No (Custom implementation needed) | Yes (Built-in) |
| Multi-Select | No | Yes | No | No |
| Maintenance | Active | Active | Active | Active |
💡 Architectural Recommendations
Stick to Native (@react-native-picker/picker) if:
You are building a standard form where adhering to platform conventions is more important than branding. If your app needs to feel like a true iOS or Android app and you don't need search or complex item layouts, this is the most performant and accessible choice.
Go Custom (react-native-dropdown-picker) if:
You have a complex design system that must be enforced across platforms. Choose this if you need features like search, categories, icons next to items, or multi-selection. Be prepared to handle the more verbose state management logic.
Choose the Middle Ground (react-native-picker-select) if:
You want native behavior on iOS (which users expect) but need to style the Android version to match your brand. It is a pragmatic choice for teams that want the best of both worlds without building a dropdown from scratch.
Pick Simplicity (react-native-select-dropdown) if:
You need a lightweight, dependency-free solution that works on Web, iOS, and Android with zero configuration headaches. It is perfect for simple "Select an option" scenarios where you don't need the heavy feature set of dropdown-picker.
How to Choose: @react-native-community/picker vs @react-native-picker/picker vs react-native-dropdown-picker vs react-native-picker-select vs react-native-select-dropdown
- @react-native-community/picker:
Do not use this package for any new development. It is officially deprecated and archived. The maintainers moved all active development to
@react-native-picker/picker. Using this legacy package introduces security risks and ensures your app will miss critical OS updates and bug fixes. - @react-native-picker/picker:
Choose this package if your priority is strict adherence to native Human Interface Guidelines (iOS) and Material Design (Android). It renders the actual native
UIPickerViewandSpinner, ensuring perfect integration with OS accessibility features and system fonts. It is the best choice for simple forms where custom styling is not a requirement. - react-native-dropdown-picker:
Select this library when you need a feature-rich, fully customizable dropdown that looks identical on both iOS and Android. It is ideal for complex forms requiring search functionality, multiple selection modes, and category grouping. Be prepared to manage its internal state via refs or controlled props, as it is more complex than native wrappers.
- react-native-picker-select:
Use this package if you want a lightweight bridge that mimics the native picker on iOS but allows full custom styling on Android and Web. It is a strong middle-ground choice for teams that want native feel on Apple devices but need to enforce a specific design system on other platforms without building a dropdown from scratch.
- react-native-select-dropdown:
Opt for this package when you need a simple, dependency-light dropdown component with zero native code requirements. It is excellent for projects that prioritize ease of integration and pure JavaScript rendering over complex features like multi-select or deep category nesting. It works consistently across all platforms including web.
Popular Comparisons
README for @react-native-community/picker
@react-native-community/picker





| Android | iOS | PickerIOS | Windows | MacOS |
|---|---|---|---|---|
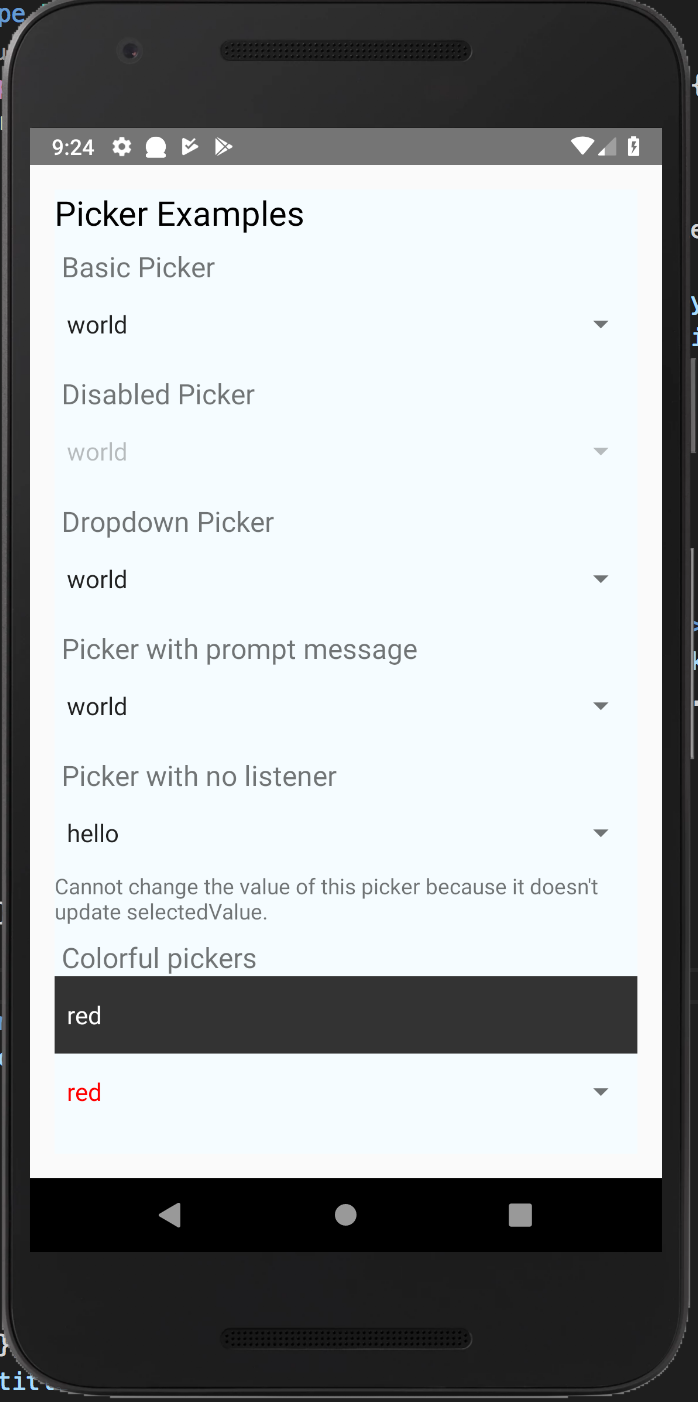 | 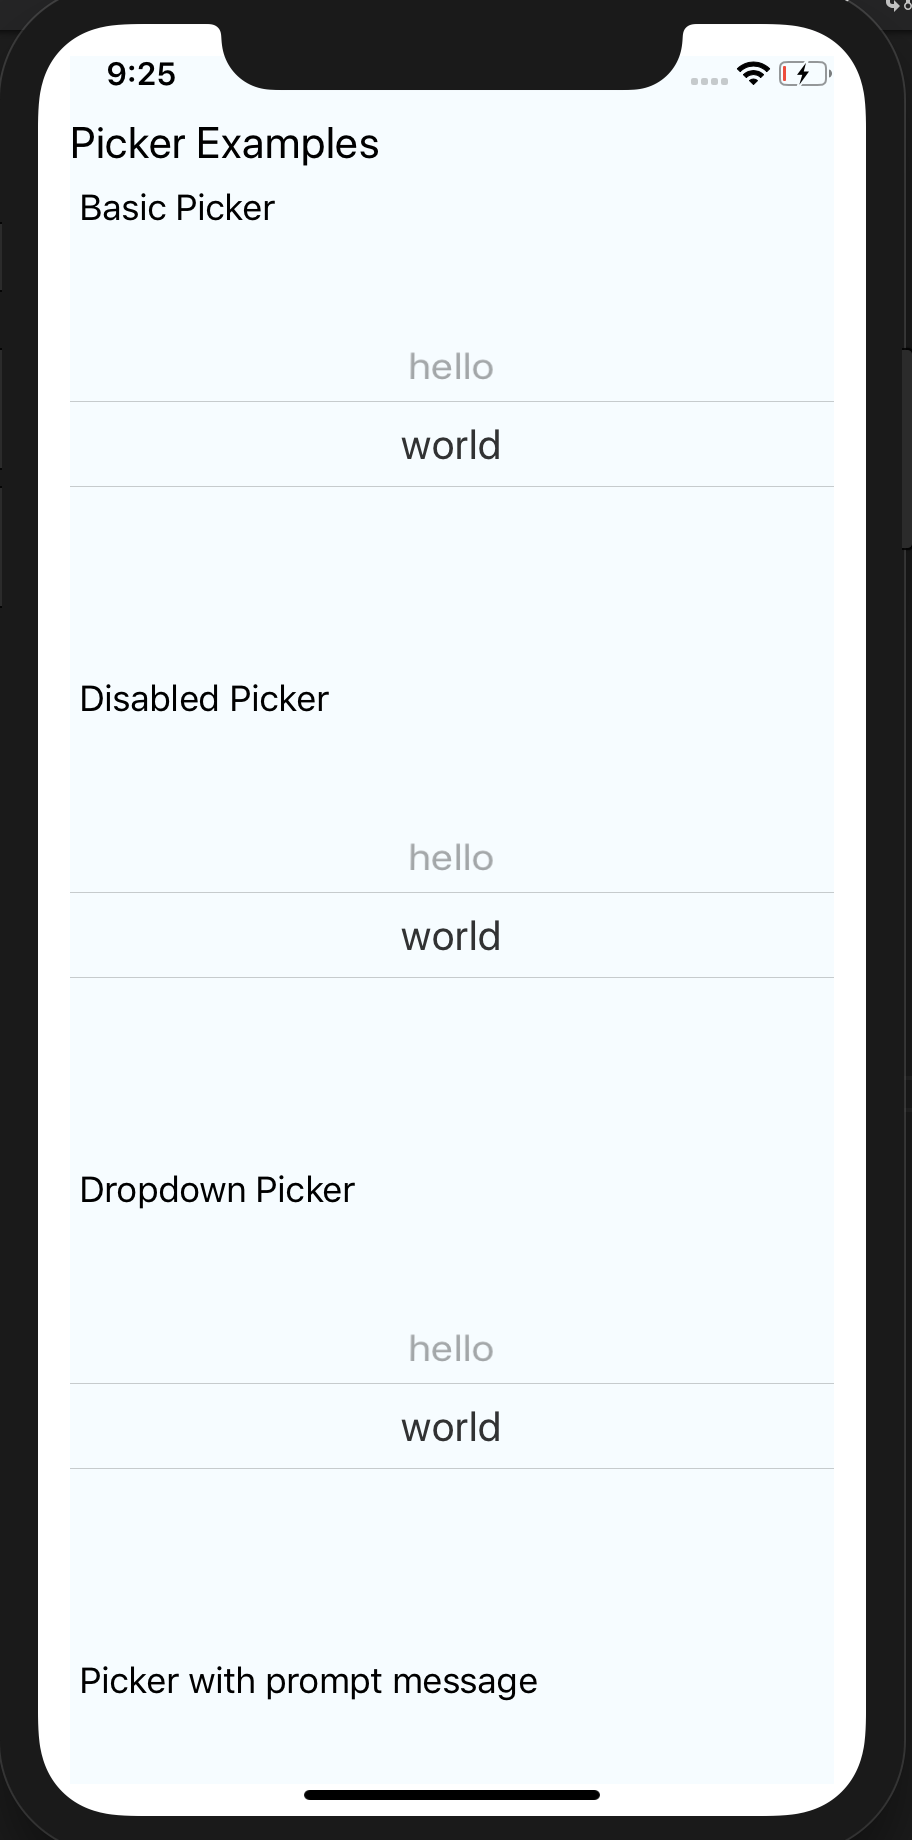 | 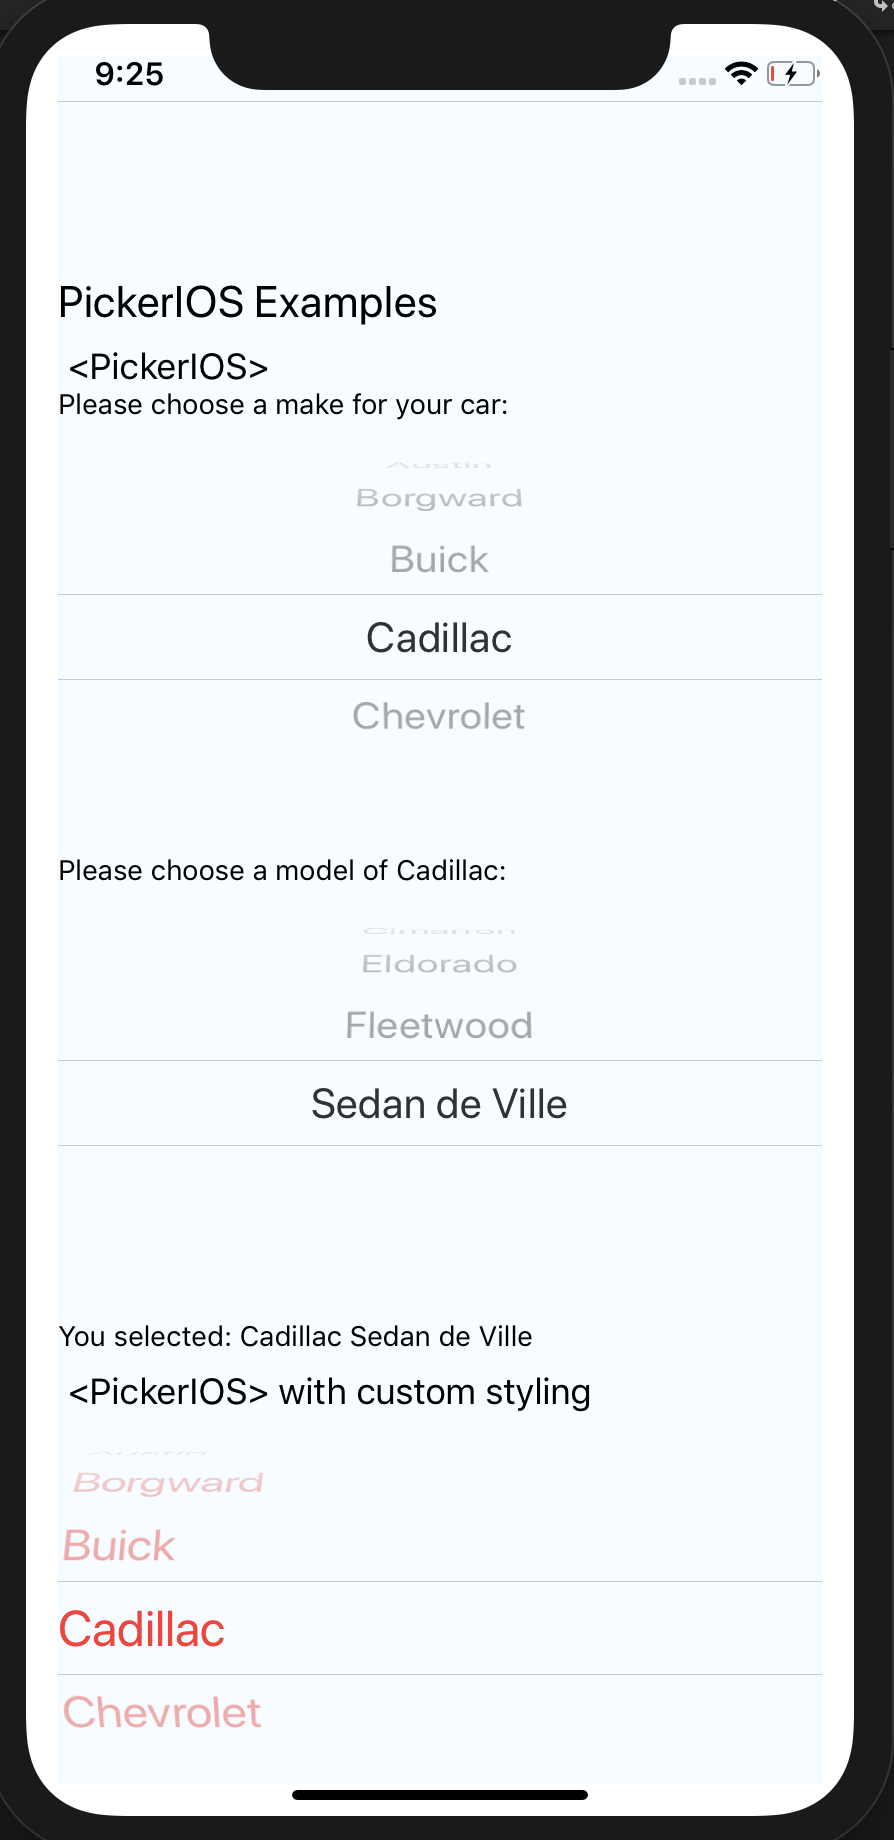 | 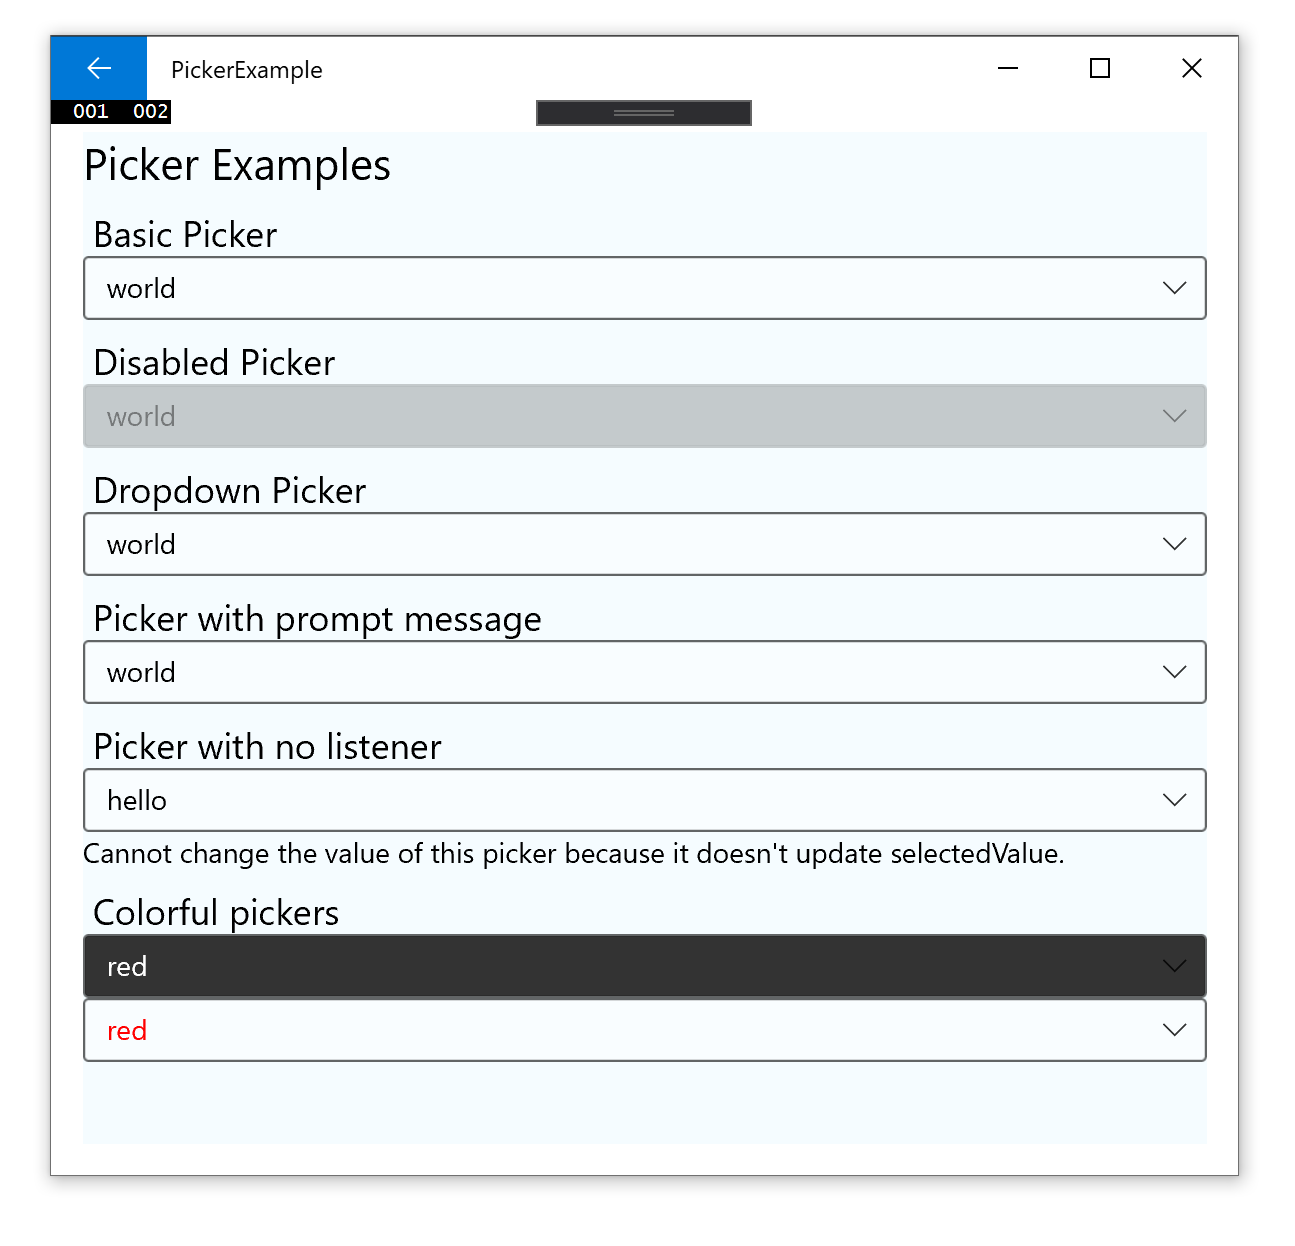 |  |
Supported Versions
| @react-native-community/picker | react-native |
|---|---|
| >= 1.2.0 | 0.60+ or 0.59+ with Jetifier |
| >= 1.0.0 | 0.57 |
For Managed Workflow users using Expo 37
This component is not supported in the managed workflow for expo sdk 37. Please import the Picker from react-native.
See more info here
Getting started
$ npm install @react-native-community/picker --save
or
$ yarn add @react-native-community/picker
For react-native@0.60.0 or above
As react-native@0.60.0 or above supports autolinking, so there is no need to run linking process. Read more about autolinking here.
iOS
CocoaPods on iOS needs this extra step
npx pod-install
Android
No additional step is required.
Windows
Add the ReactNativePicker project to your solution.
- Open the solution in Visual Studio 2019
- Right-click Solution icon in Solution Explorer > Add > Existing Project
Select
D:\dev\RNTest\node_modules\@react-native-community\picker\windows\ReactNativePicker\ReactNativePicker.vcxproj
windows/myapp.sln
Add a reference to ReactNativePicker to your main application project. From Visual Studio 2019:
Right-click main application project > Add > Reference...
Check ReactNativePicker from Solution Projects.
pch.h
Add #include "winrt/ReactNativePicker.h".
app.cpp
Add PackageProviders().Append(winrt::ReactNativePicker::ReactPackageProvider()); before InitializeComponent();.
MacOS
CocoaPods on MacOS needs this extra step (called from the MacOS directory)
pod install
Mostly automatic installation (react-native < 0.60)
$ react-native link @react-native-community/picker
Manual installation (react-native < 0.60)
iOS
- In XCode, in the project navigator, right click
Libraries➜Add Files to [your project's name] - Go to
node_modules➜@react-native-community/pickerand addRNCPicker.xcodeproj - In XCode, in the project navigator, select your project. Add
libRNCPicker.ato your project'sBuild Phases➜Link Binary With Libraries - Run your project (
Cmd+R)<
Android
- Open application file (
android/app/src/main/java/[...]/MainApplication.java)
- Add
import com.reactnativecommunity.picker.RNCPickerPackage;to the imports at the top of the file - Add
new RNCPickerPackage()to the list returned by thegetPackages()method
- Append the following lines to
android/settings.gradle:include ': @react-native-community/picker' project(': @react-native-community/picker').projectDir = new File(rootProject.projectDir, '../node_modules/@react-native-community/picker/android') - Insert the following lines inside the dependencies block in
android/app/build.gradle:implementation project(path: ':@react-native-community_picker')
MacOS
- In XCode, in the project navigator, right click
Libraries➜Add Files to [your project's name] - Go to
node_modules➜@react-native-community/pickerand addRNCPicker.xcodeproj - In XCode, in the project navigator, select your project. Add
libRNCPicker.ato your project'sBuild Phases➜Link Binary With Libraries - Run your project (
Cmd+R)<
Usage
Picker
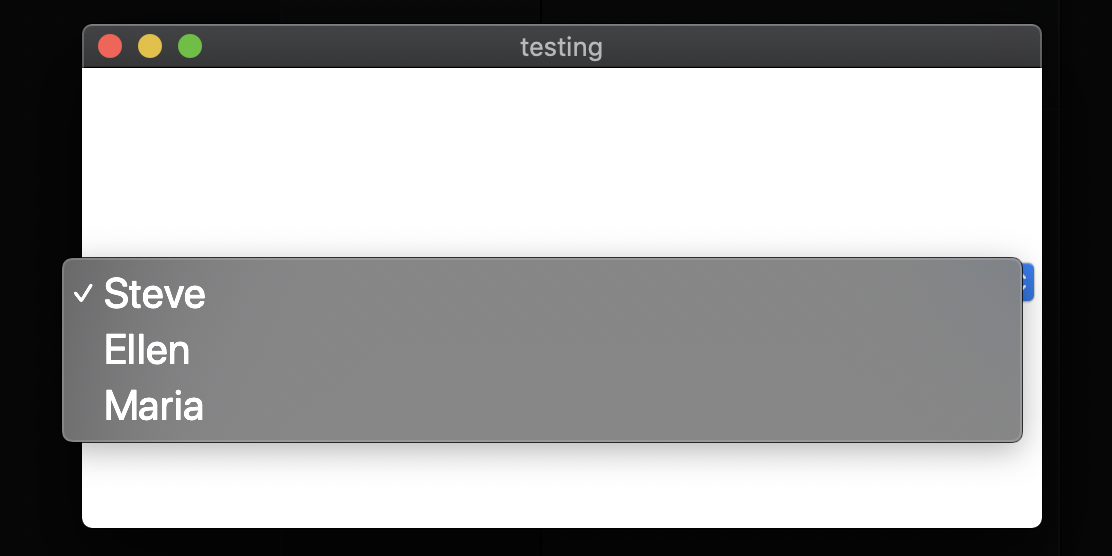
Renders the native picker component on iOS and Android. Example:
Usage
Import Picker from @react-native-community/picker
import {Picker} from '@react-native-community/picker';
Create state which will be used by the Picker
state = {
  language: 'java',
};
Add Picker like this:
<Picker
  selectedValue={this.state.language}
  style={{height: 50, width: 100}}
  onValueChange={(itemValue, itemIndex) =>
    this.setState({language: itemValue})
  }>
  <Picker.Item label="Java" value="java" />
  <Picker.Item label="JavaScript" value="js" />
</Picker>
Props
Reference
Props
onValueChange
Callback for when an item is selected. This is called with the following parameters:
itemValue: thevalueprop of the item that was selecteditemPosition: the index of the selected item in this picker
| Type | Required |
|---|---|
| function | No |
selectedValue
Value matching value of one of the items. Can be a string or an integer.
| Type | Required |
|---|---|
| any | No |
style
| Type | Required |
|---|---|
| pickerStyleType | No |
testID
Used to locate this view in end-to-end tests.
| Type | Required |
|---|---|
| string | No |
enabled
If set to false, the picker will be disabled, i.e. the user will not be able to make a selection.
| Type | Required | Platform |
|---|---|---|
| bool | No | Android, Windows |
mode
On Android, specifies how to display the selection items when the user taps on the picker:
- 'dialog': Show a modal dialog. This is the default.
- 'dropdown': Shows a dropdown anchored to the picker view
| Type | Required | Platform |
|---|---|---|
| enum('dialog', 'dropdown') | No | Android |
prompt
Prompt string for this picker, used on Android in dialog mode as the title of the dialog.
| Type | Required | Platform |
|---|---|---|
| string | No | Android |
itemStyle
Style to apply to each of the item labels.
| Type | Required | Platform |
|---|---|---|
| text styles | No | iOS, Windows |
PickerIOS
Props
Reference
Props
itemStyle
| Type | Required |
|---|---|
| text styles | No |
onValueChange
| Type | Required |
|---|---|
| function | No |
selectedValue
| Type | Required |
|---|---|
| any | No |